

In a previous blog, we showed you how to use FFmpeg to create a visualiser. This may be the ideal solution for you if you are comfortable using the terminal. If, however, you have some familiarity with After Effects, and have it installed on your computer, then you can use AE to achieve an even more enhanced audio visualiser. For the purposes of this tutorial, I'm assuming you are comfortable enough with AE you can navigate the main interface, create new layers, and search through effects. If you're brand new to AE, I suggest taking a look through Adobe's help documentation before you take the plunge and start this tutorial.
Here is an example of what we'll be creating.
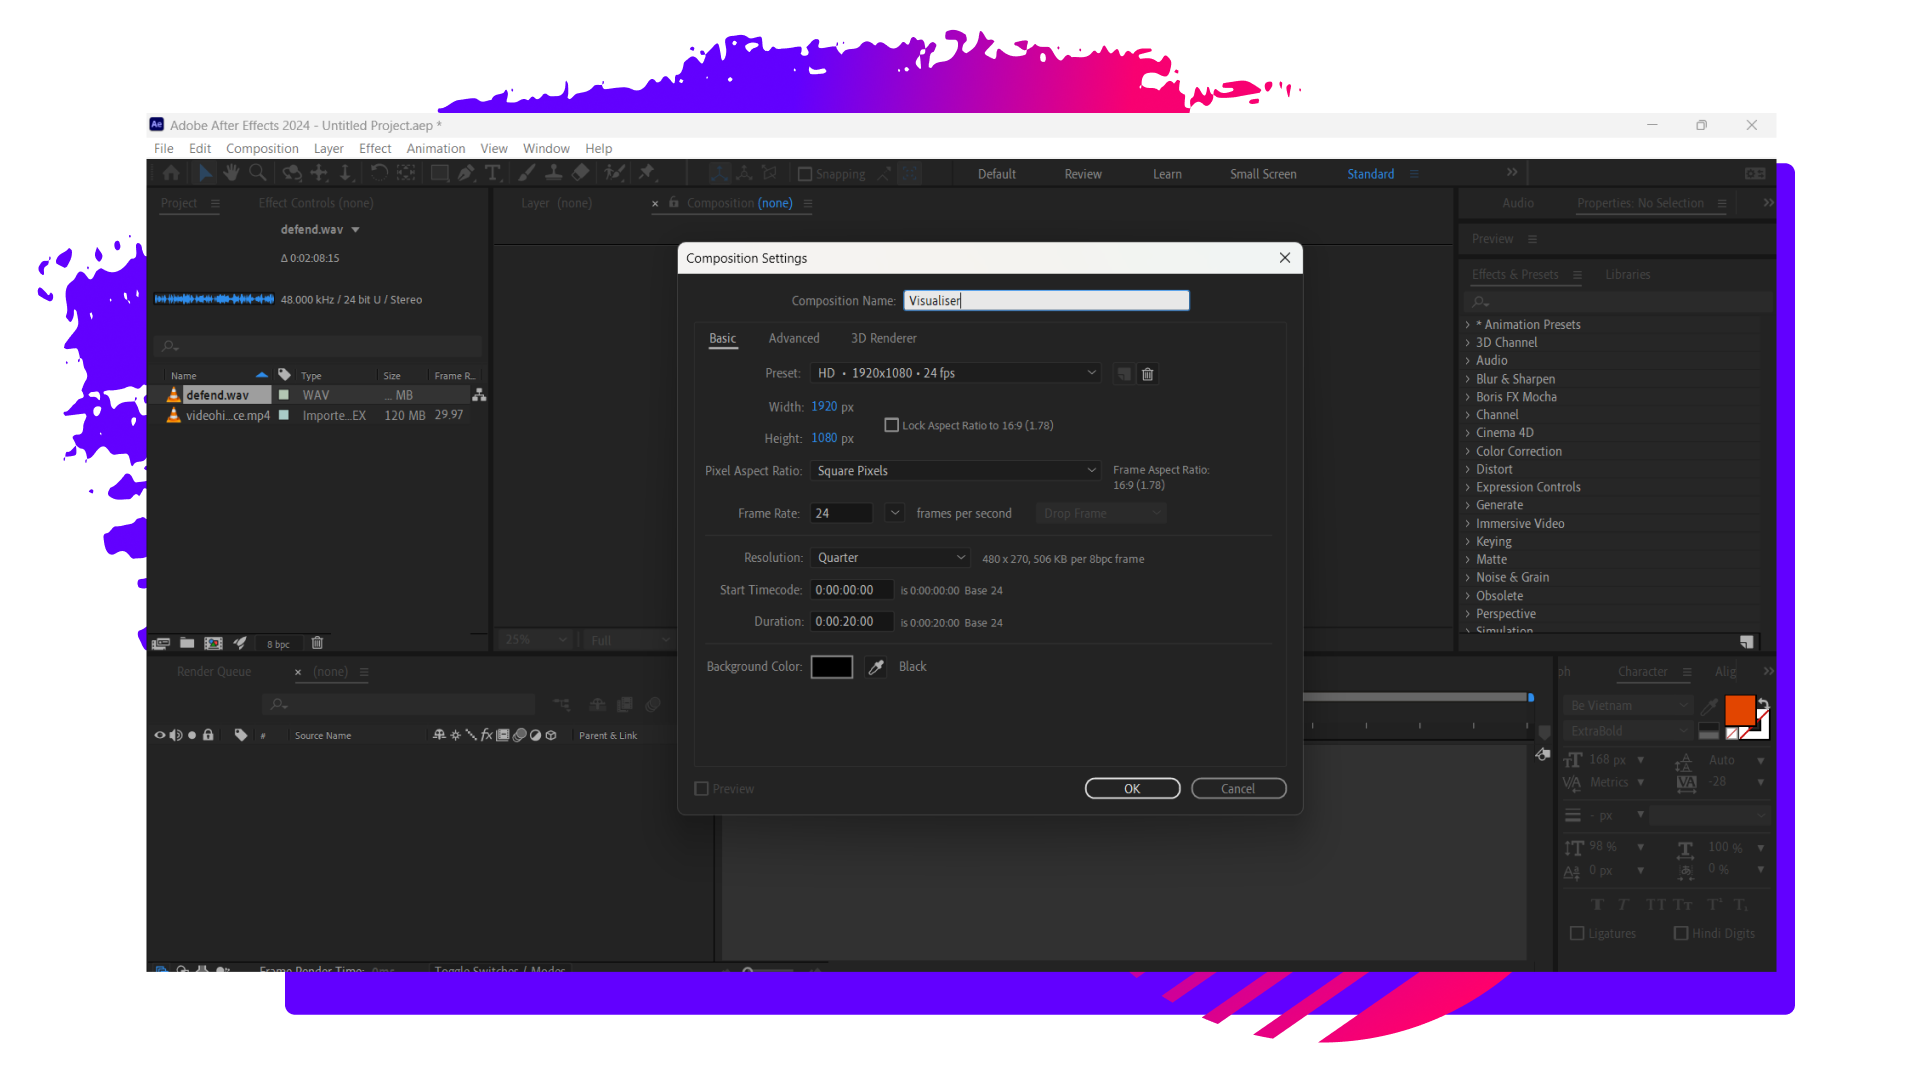
To begin, you'll want to have After Effects open and create a new composition in the size you prefer. In this example, I'm picking the 16:9 aspect ratio or 1920x1080 pixels.
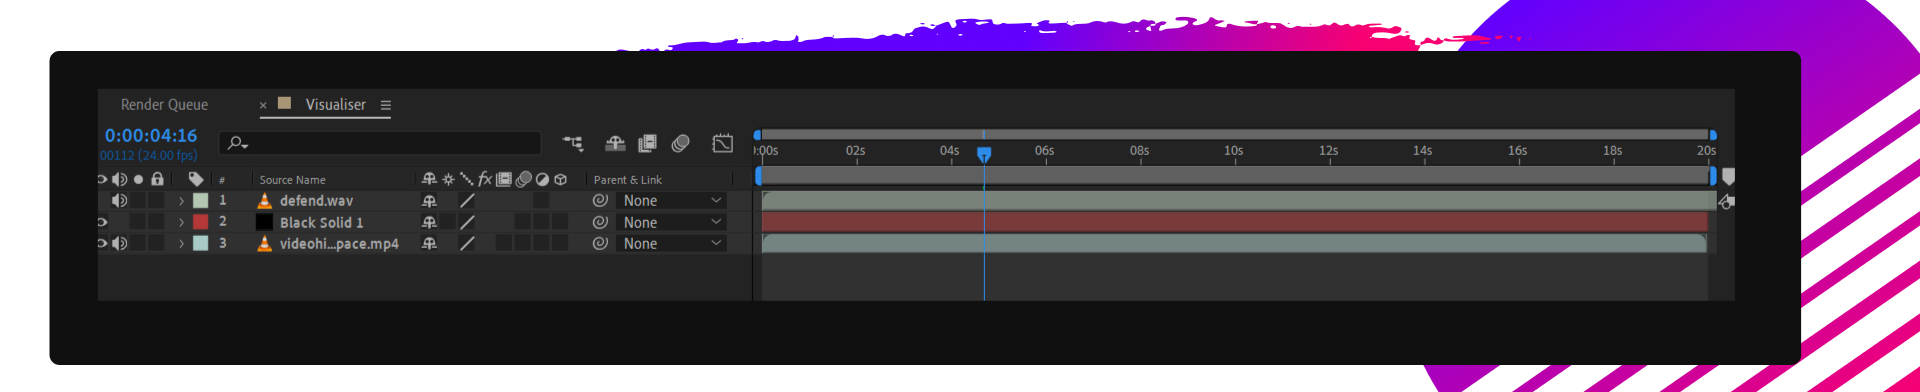
Now that you have your composition, you will need to import in your audio file. This can be in .mp3 or .wav format, or you can even use the audio from an imported video. In my project, I am using a .wav file which was created using Splash Pro. Once you have imported the audio file, drag it into your timeline.
Create a new solid layer, and ensure that it extends across your entire timeline. I suggest you rename this layer; I named the layer in my project 'visualiser'. In your Effects and Presets panel, search for 'Audio Spectrum' and then apply it to your visualiser layer.
With your layer properties panel open, ensure that the source for the audio spectrum is your audio file.
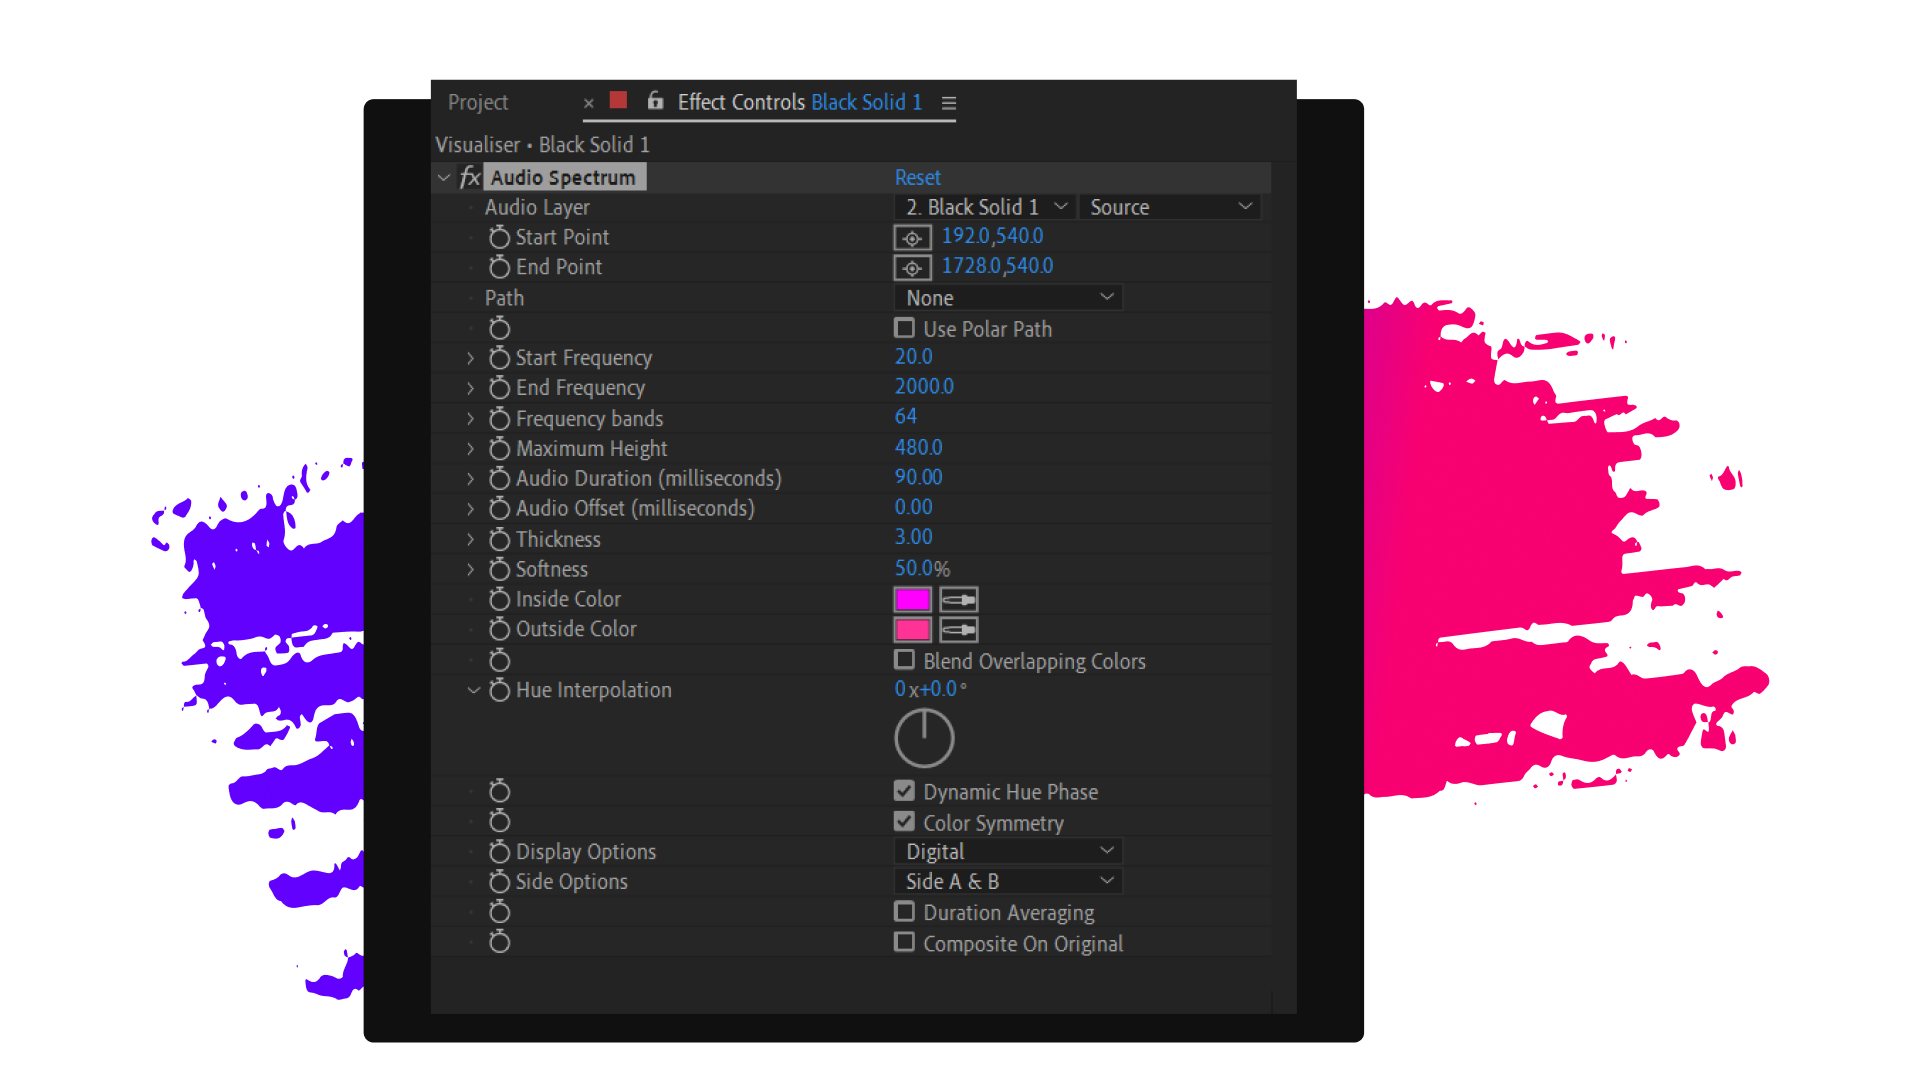

You should now be able to see that your audio spectrum reacts to your audio file. At this point, believe it or not, you are done! However, you may wish to make some changes to improve the look and feel of your visualiser. Here are some suggestions:
- Play around with the start and end points of the visualiser
- Use a mask to change the shape of your visualiser. In the gif above, I used a mask to create a circular shape, but anything is possible. Try squares, triangles, or even logos.
- Apply a gradient or other special effect to the visualiser
- Change the start and end frequency of the audio spectrum
- Combine the audio spectrum layer with an animated background or other video
How did you go? Post your creations online, and don't forget to tag us at @splashmusicco so we can check it out. We always love seeing the awesome things our Splash Pro users create!